|
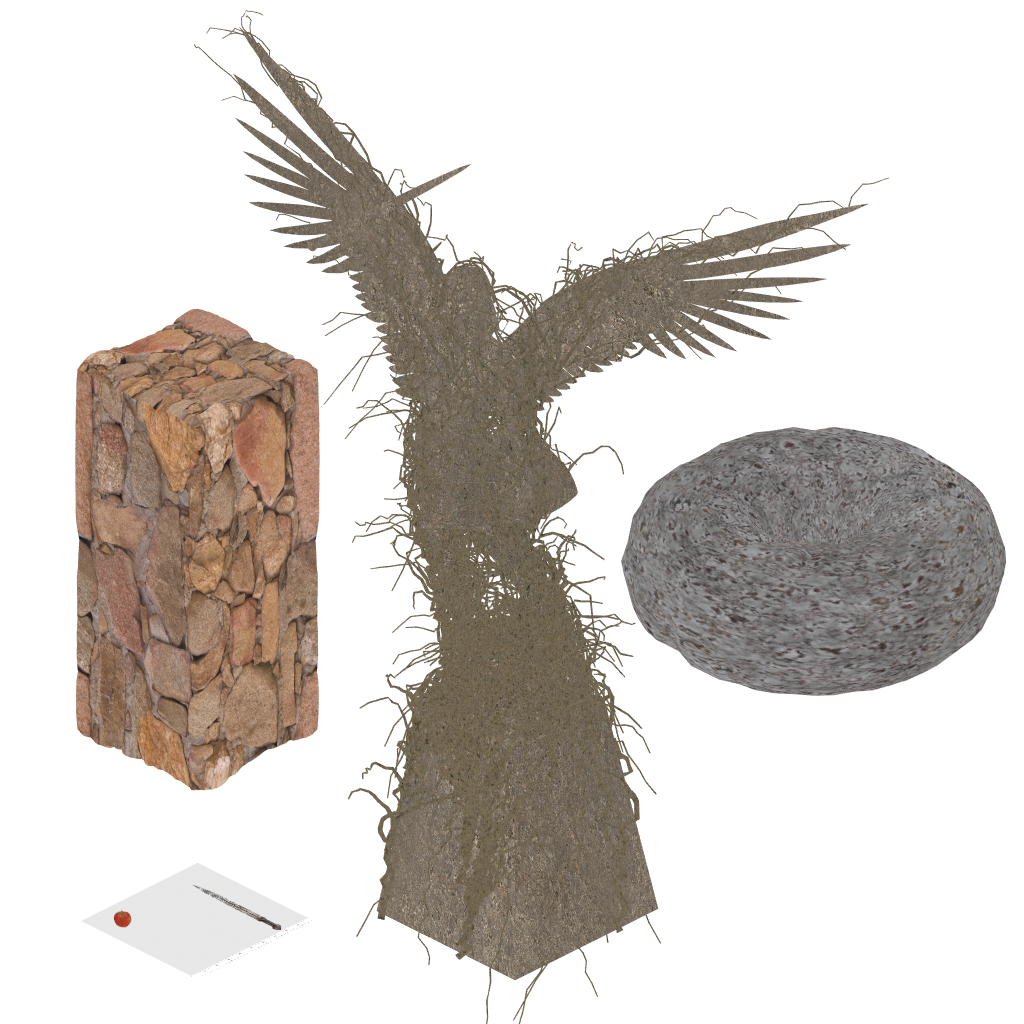
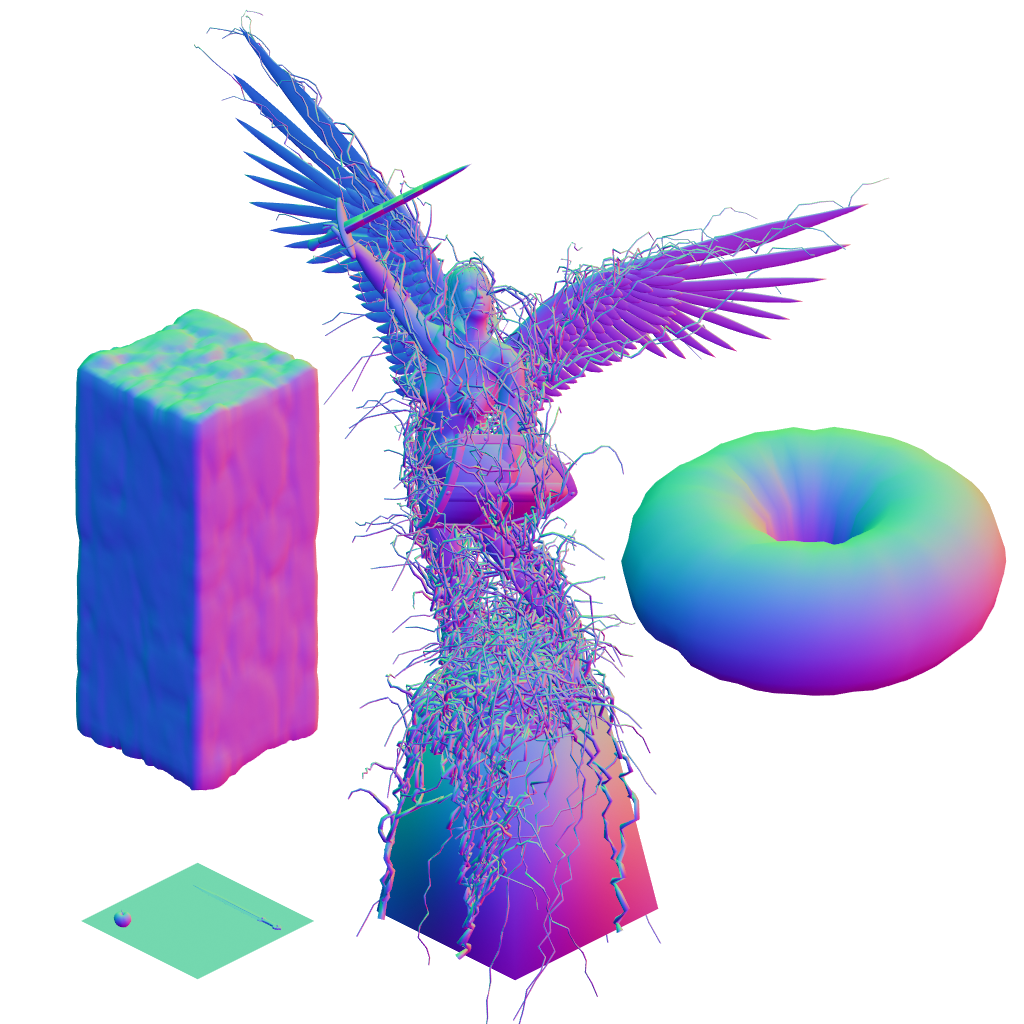
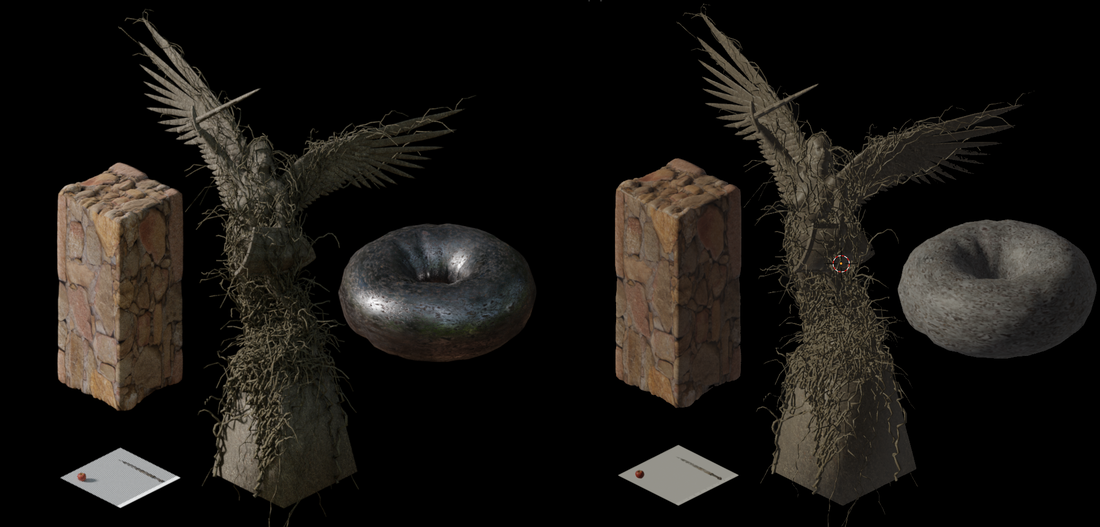
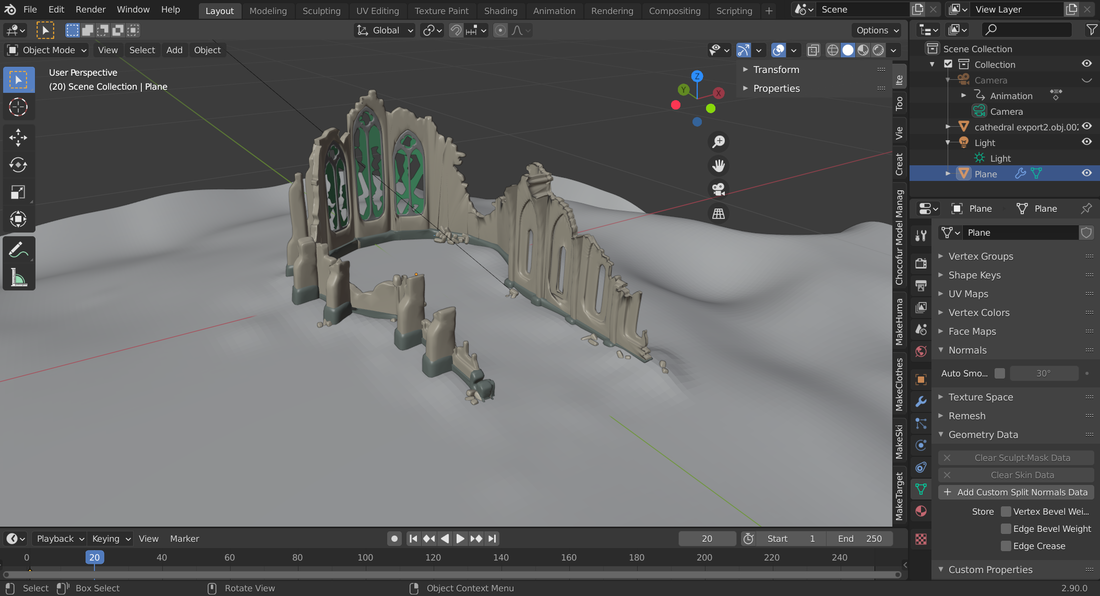
This weekend I explored the viability of adding shaders in 2D game art to achieve a more dynamic look when lighting. I focused mostly on the normal map because it seems to have the biggest impact, but also interested in applying specular, opacity, and emission maps as they might be useful as well. The inspiration came from this article. Grégoire's forum post is very informative, and shows the wide range of possibilities by spitting/deferring shading. This post is my not-so-subtle "emulation" of his testing grounds. Albedo, Normal, Specular Maps + Light = Pretty Neat. Separating graphics into a few shader maps yields a drastically different look, and adds a wide range of variable lighting. It even makes basic 2D pixel art look pretty neat. I'm still working on establishing my Blender workflow for creating 3D assets, and the 2D graphics rendered. Similar to keeping sizing and mesh quality consistent, I want to be thoughtful of renders that might be needed later on. So, whether or not I end up using them, it won't hurt to have higher resolution versions, albedo, normal, and other maps in addition to the final image. Step one of this test was to create a scene, then render a baseline sample. Next, I figured out how to render a proper albedo & normal map. I'd like to eventually have a Blender scene or script setup to output all these maps at once. Rendering a specular map eluded me unfortunately. It might be easier than I think, I just seem to get bombarded with texture baking tutorials geared toward 3D artists. 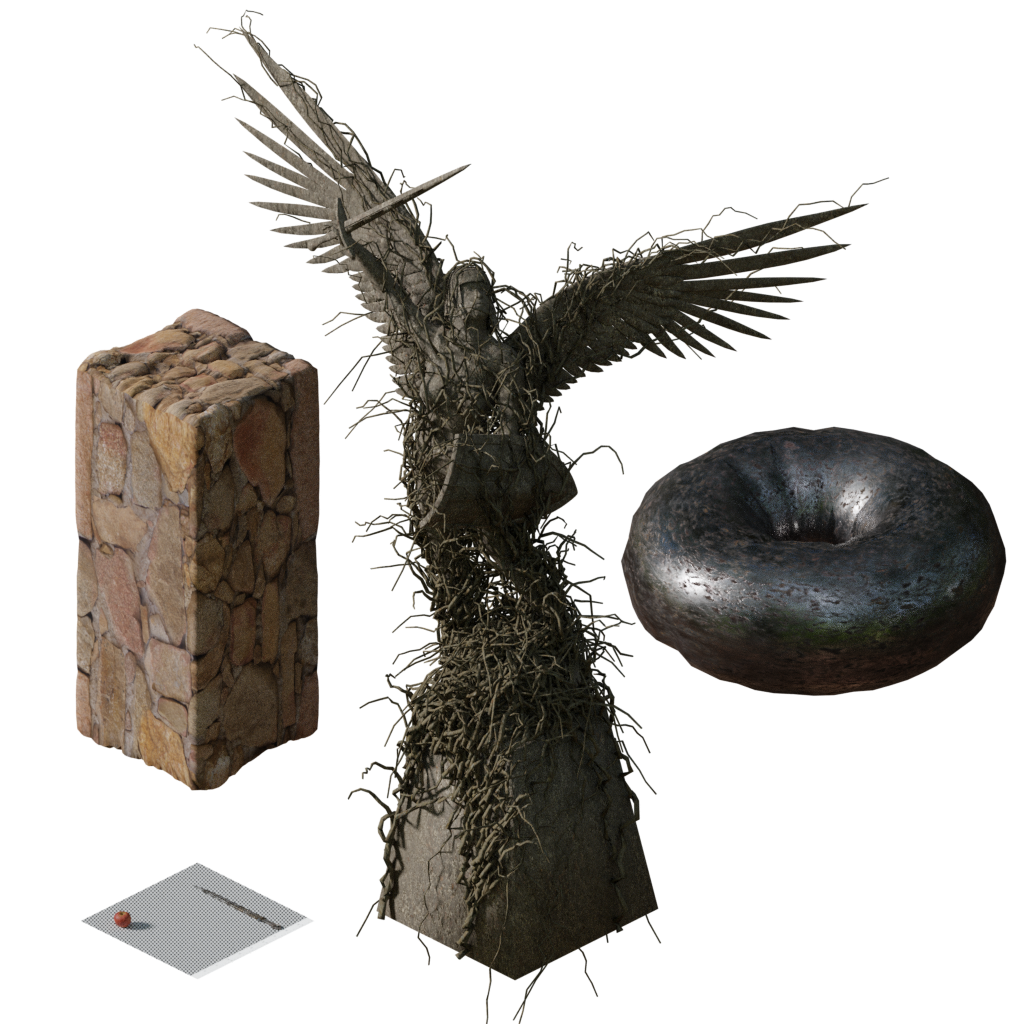 The Baseline - This is a typical image that I'd render for use in a 2D isometric game. It's textured & shaded. When combined in game, the lighting always has this top down 3:00PM appearance, and reflective surfaces are frozen in place despite what the lighting or surrounding conditions are. If I combine the two images below correctly, I should end up with something similar to this. Step two is to combine the albedo & normal maps. I didn't want to invest too much time installing and then learning a game engine like Unity or Godot just to test this one image out. So after searching high and low for a lightweight program that would combine these with some simple lighting tools I realized... I could just fake a 2D game engine's lighting right in Blender: Not too shabby for two flat images. Though, the metal doughnut looks like a concrete doughnut. This highlights the importance of a specular map image in this shader combination. Adding these maps makes a world of difference in a 2D game. With the addition of projected shadows, dark scenes take on a whole new life. I imagine wearing shiny plate armor could look drastically different, or areas lit by flickering torch light But, the problem with implementing this in Faldon is that we don't have normal maps. We need them for most everything in game for it to look consistent. There are thousands of frames of art when including all the props, animations, characters, and creatures. I remember we had this problem when we added the alpha channel to the newest game version. Luckily we handled this with a combination of clipping black edges, re-rendering new versions, and adding an alpha by channel in an image editor. Obstacle: No Normal Maps... A possible solution is to generate the normal from the already existing 2D graphics. But, it wont' look nearly as good as those rendered from a 3D engine. And it would require some fine tuning. I found a free tool called Laigter, and tried out some sample Faldon art: This might work. The specular map generation shown at the middle of the video with the wall weapons & shield is a nice touch. This is an example of what the metal doughnut was missing, and how metal reflective surfaces can respond to the environment. These generated normals have limitations and should probably be used to provide the texture, and not the overall geometric shape. The second video below shows why. It tests two separate normals for the same wall piece, the highly geometrical one to the right doesn't generate the correct top, left & right distinction like it should. There might be a workaround, and other tools and software to address this but definitely shows the snags that might occur in a mass normal map generation for an entire game.
0 Comments
Blender (and other free open source software) It's been about three months since I delved back into 3D graphics and game design. Three months is somewhat arbitrary since this is a hobby that I spend a few hours at a time when I feel like it. I've since familiarized myself with several tools and resources. I'm particularly impressed with the quality of the free & open source programs and assets that are available. I'll likely make regular use of these favorite picks so far:
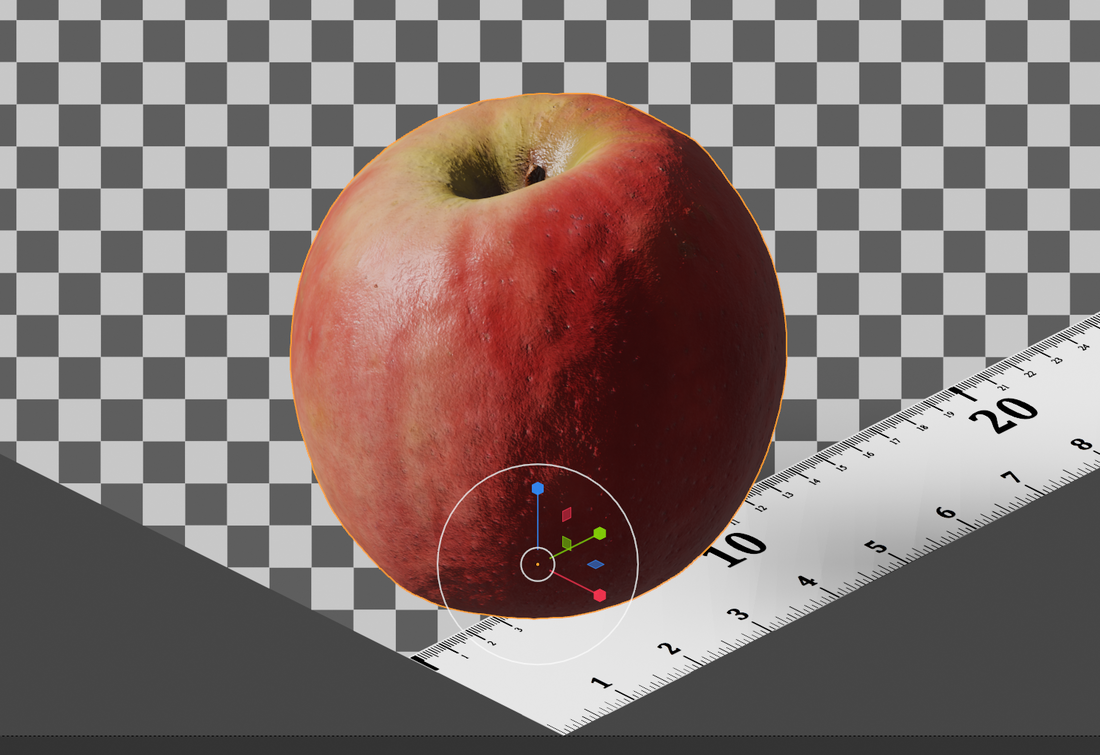
Below are some images of my progress in Blender. I can't gush enough at the power of this software suite. It certainly lacks in some areas, but the momentum of the development is hard to ignore. It's been my intention to create some promotional/title graphics for Faldon. Sadly, It's ground to a slow crawl in progress. I find myself frequently needing to learn how to do something, then I'll be on tangents after an initial web tutorial search. Usually, I discover that I'd done something completely wrong or, distracted by another tutorial for something unrelated. While this is bad for completing something that I want to complete, I've learned so many ideas, techniques, and understanding of practices that I simply muddled through in my past. 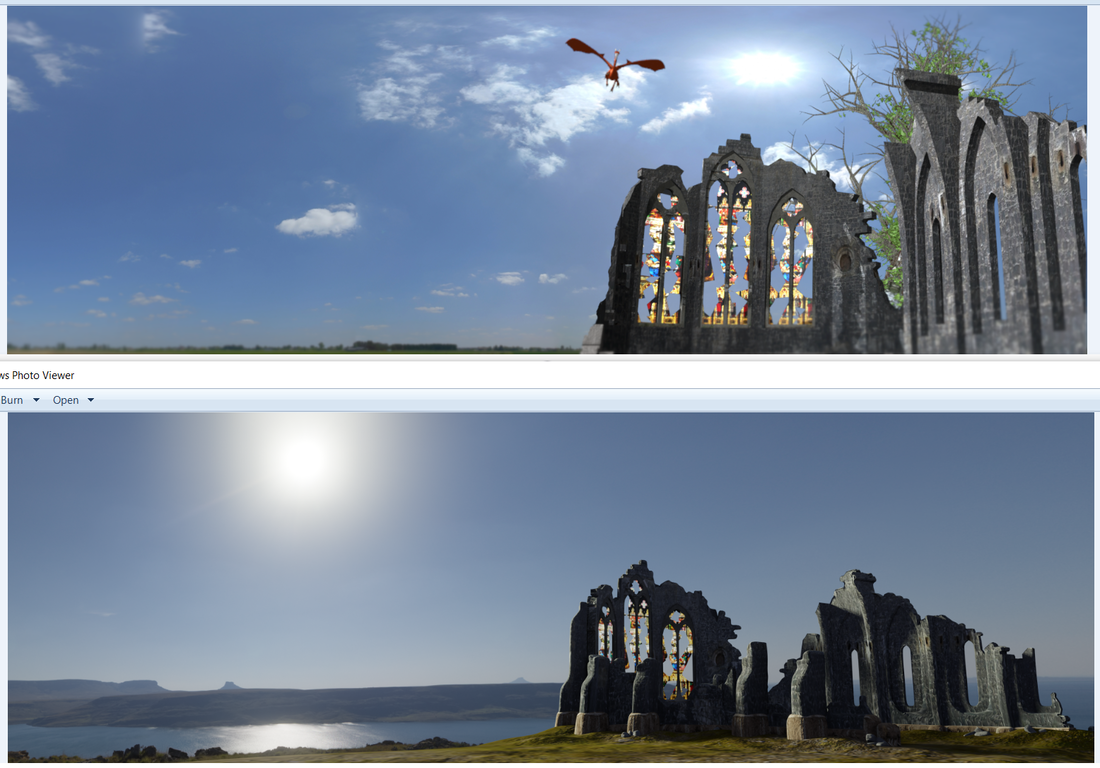 Work In Progress - The top image is part of a promotional & title image rendered in Lightwave many years ago. Below, is the rough draft rework redone in Blender. Obviously there's not a huge distinction between these two, but this my workshop for getting immersed into media creation. The 100 mistakes and learning moments do not shine through. CC0 / Public Domain, and Navigating Licensing Pitfalls Continuing on with my freebie theme... There is an absolute treasure trove of free assets (models & textures) available. This is made possible by a combination of generous individuals, asset marketplaces offering promotional freebies, and museums & organizations providing free public domain 3d models of artifacts and architecture. In an earlier post I mentioned that I wanted to accomplish more, with less time (who wouldn't?). Especially if it's a background element like a tree, plant, or rock. I didn't realize some of the richness of the materials available. The downside might be the ubiquity of these models being overused. My approach with them would probably be that they're either a secondary element, reference photos, textures, or just a starting mesh to build upon. Another very important thing to consider, is paying close attention to the license of "free" materials. The difference between CC0, CC with Attribution, free for educational use, and the dreaded viral GPL type licenses are stark. If the intention is to own or sell the derived work (or at least have the option) it's important to pay close attention, understand and document the material sources. And, question that they come from a reputable source. My personal preference is to stick to CC0, or public domain materials. I don't have reservations about using a stone relief carving that was made 1000 years ago, and published by a museum for example. But having to keep track of sources and attributing the authors is not ideal. They certainly deserve the credit, but it's a more simplified workflow if I can keep my asset library unquestionably my own. "Foundations for Media Consistency" This section is going to be painfully obvious to most adept graphics artists, or anyone seriously considering working on a creative project with thousands of moving parts. As I look through my old work, I'm noticing how inconsistent it is. It was several years ago, and created over a long period of time. The folder structures are pretty sloppy, I rarely saved scenes, and textures after I was happy with the renders. The 3D models themselves were made with a single purpose in mind, and scene lighting varied with individual renders that eventually ended up in the same game. The sizes of the 3d models vary incredibly. I have a 6ft tall apple, 2 inch tall tree. This was no problem at the time, because I'd just resize everything and estimate the proportions to how I saw fit. My 3d models are also somewhat sloppy for my current taste. I left behind quite a few stray points/vertices, edges, used tris and quads in combination as well as N-gons. And, I didn't think I'd reuse them for anything else. So, if I was going to render from just one angle, I didn't care very much about the other side or consider I may want to use it somewhere else for that matter. After thoroughly critiquing my past practices, I thought it would pay off later on if I stuck to some basic principles moving forward:
How I establish consistency actually dovetailed into another task I created for myself - establishing a generic isometric scene in Blender. Not only a generic scene, but defining consistent proportions and other conditions like lighting. I really like isometric graphics. Whether or not I work on Faldon or something similar, I have a soft spot for the style. I started by sketching out some of the basics for the scene, and ideal proportions: 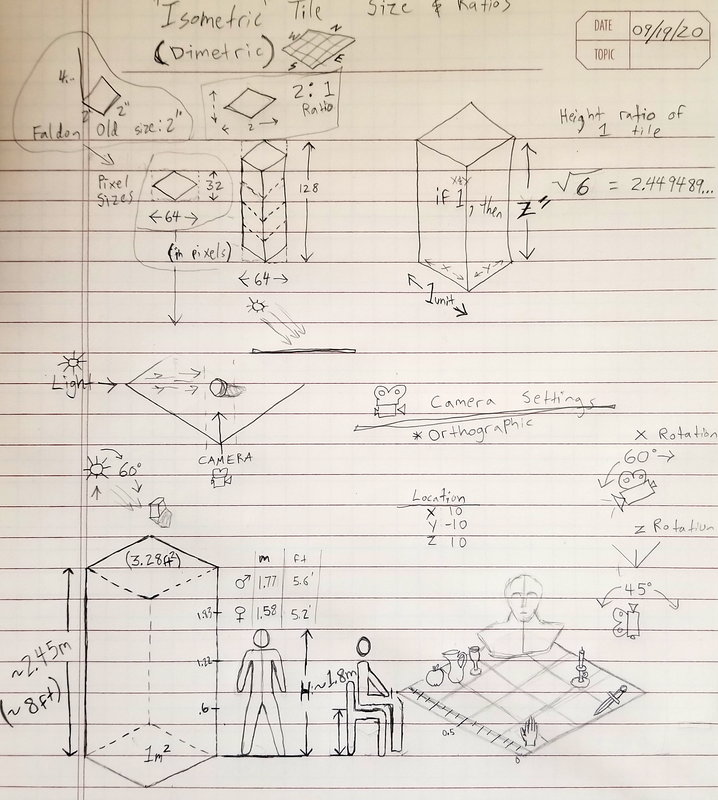 Initial sketch - I knew I wanted to create a basic starting scene with some reference props and measurements to keep everything relative. All of the original Faldon wall and floors were 2" squared (in 3d), and 64x32 rendered base unit. As I further sketched things out, I'd prefer to use 1 meter squared 128x64 tiles. I can render them smaller and re-proportion things if they're too small to see for Faldon. 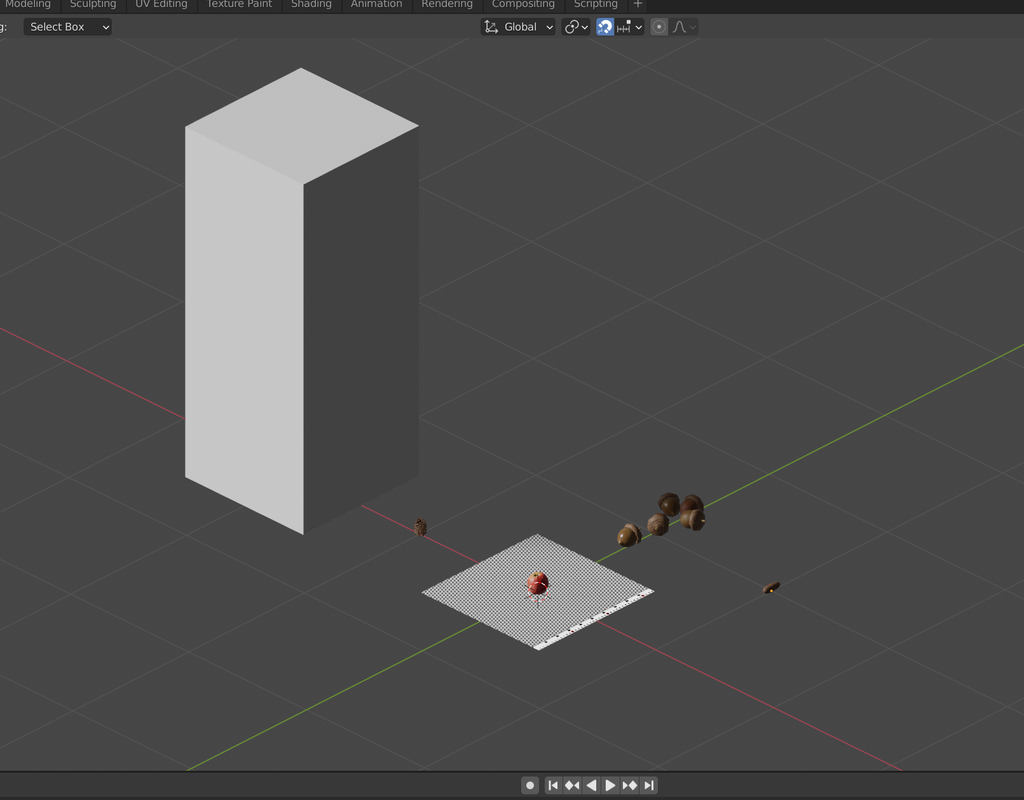 In Blender - I have made the generic wall and floor patterns. Next, I'd like to add in a few other reference props to keep sizing and animations in line. I'm sure more will come to mind, but I'll need to have a standard human size, and then templates for things like tables, chairs, doorways just to name a few. An MMO has the potential to get very complicated, very quickly in it's design and content. Recently I was considering some specific aspects of Faldon from a high level in hopes to build upon the game mechanics, or simply learn from ideas/mistakes from the past to utilize on other projects. Starting here, with a limited part of an MMO game... One of my favorite activities in an online game, I’m almost embarrassed to admit... is the farming. When I say farming, I mean the tedious, grindy, time consuming task in a game. Think- mining for ore, chopping wood, fishing, or hunting over and over in hopes of a .001% chance rare item, or just accumulating more imaginary units of meaningless numbers that represent, at the end of the day, absolutely nothing tangible. Sure, there's plenty of other things to do in most online games: socializing, exploring, playing through a storyline, dueling other players, hacking your way through a dungeon solving puzzles for a chest of loot. Each of these with their own unique feeling of achievement or enjoyment. But if you’re like me, sometimes you just want to farm. That is what I'm primarily focus on with this article. The repetitive *click, click, click* work that has no reward in my real life. So, why is it fun in games? A better question would be, why am I drawn to continue doing it? The stark answer is laid bare in this simple game that’s aptly named- Dopamine. We’re wired for it. Life is a complex and unrelenting experience. There's enjoyment in pausing life to simulate an experience. That experience can be enjoyable & meaningful when you perceive progress from your actions in a way that you understand. Faldon in particular, this aspect is not nearly as enjoyable as it could be. Most players would rather set an automated clicking macro, and go about their day than be present. And, I don't blame them. It’s not my intention to overly examine lofty concepts of what makes people tick, but to focus on harvesting & crafting activities within Faldon to determine how to:
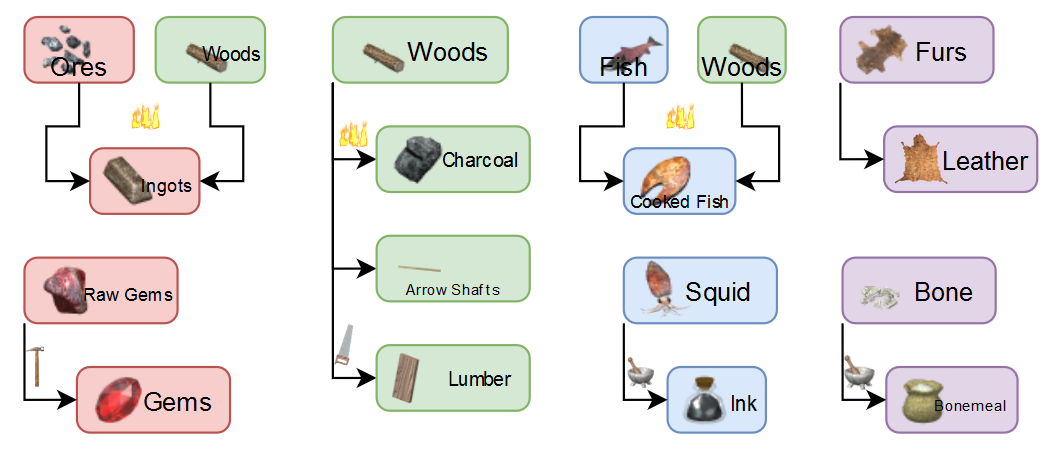
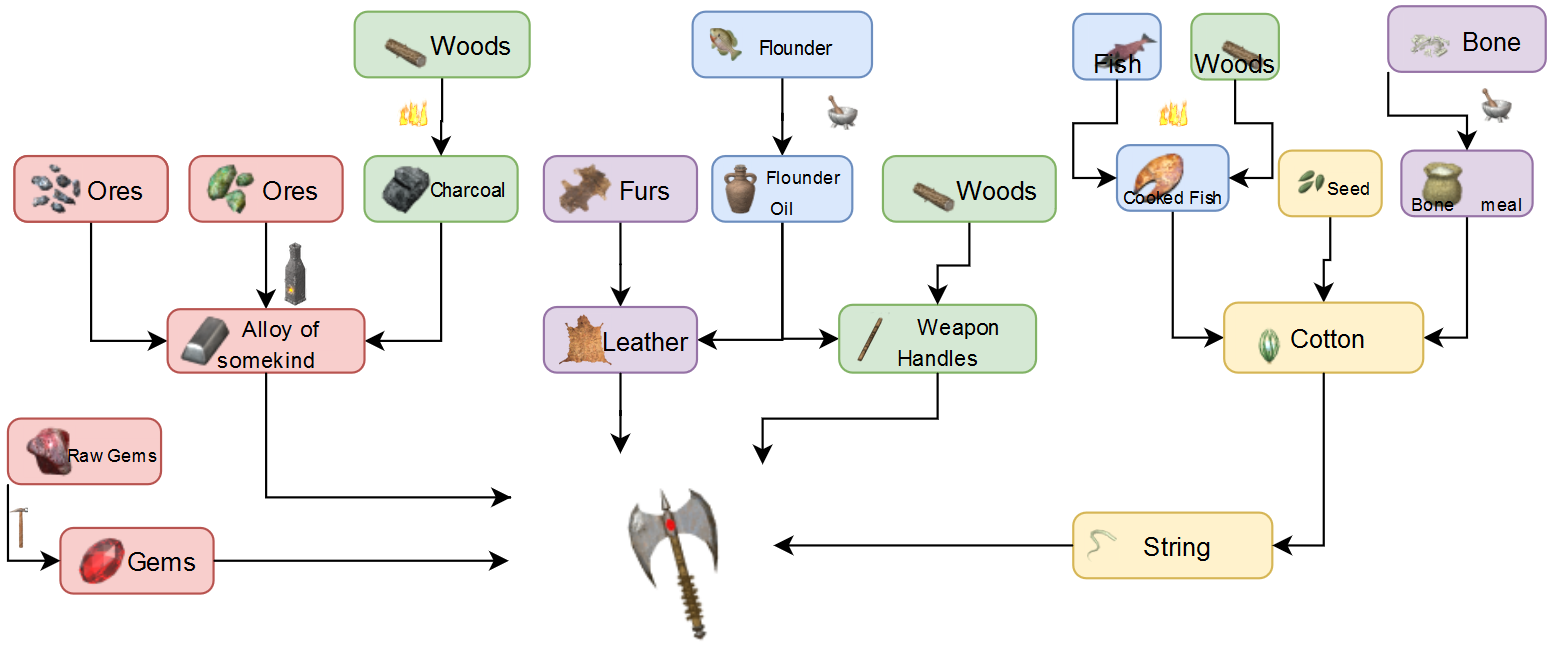
Faldon’s harvesting skills need more “steps” in an extended stairway of advancement. That’s a complicated way of saying that it’s very boring to right click on a tree over and over, and only receive a log. Then after a long long time of right clicking the trees your reward is more logs on each click. And, there isn’t that much use or value for these logs in the game. We can extend this stairway of advancement, let’s just call it a ladder. We can create a ladder by introducing more types of logs that require higher skill to obtain (skill increased by performing the skill, naturally). In addition to higher skill, they could also require more advanced tools, and also the ability to survive in the regions where they might be located. Here’s an example of this concept- Imagine Joe Newbie. He enters the new world of Faldon, kills a few snails and saves up for his first hatchet. Next he ventures out into the woods, picks out some nice looking pine trees and gets to chopping. At first this can be fun, because his skill is going up and presumably taking this pine wood back to town for some coin (let’s pretend there’s a game economy). Currently, this example is (mostly) all you can expect from lumberjacking. Now, add another step in the ladder. Imagine Joe has saved up enough coin for a sharper axe, equipped himself with a set of fur armor, and a bow & arrow. Now he can hike further into the woods, up a mountain in search of oak trees. He can stay warm when the snow falls, make quick work of wolves who’d have ripped Joe Newbie to bits, and gain access to the next wood tier... Oak- A more valuable resource required in an increasingly intertwined ecosystem of resources, that are refined & combined into a variety of specialized equipment & consumables. Perhaps this is more detail than necessary to drive the point, but it illustrates a component of satisfaction that can be had in a multiplayer game through recognized milestones of advancement. Something that makes an activity more desirable to engage in, is the chance of an unexpected reward. In an artificial world where there are differing levels of wealth and achievement, it’s more bearable to engage in an activity that you’re behind in if you still have a chance for a nice payout. Think of it this way- If you’re Joe Newbie, why even chop pine? It might be discouraging if other players are out there collecting rare endangered jungle hardwoods in exotic realms. This is where the random prize can help boost the appeal, no matter where you’re at on the ladder. I suggest adding the probability to get a rare prize while harvesting. Each time you’re chopping wood, you’re also playing the lottery. You could find a rare medicinal fern, or magic acorn while lumberjacking. Several different items, with varying chances to get. Each of these items would have some purpose as an ingredient in the crafting ladder to make a consumable or piece of equipment. Of course, the odds might favor a grandmaster lumberjack vs a novice, but this wildcard aspect can help level the playing field. Similar to finding rare woodland items while lumberjacking, you could also find rough gemstones while mining, or rare water themed items while fishing (squids, oysters, a fish that swallowed a ring, etc). Advanced levels of harvesting tools or requirements in other respective skills could exist as well. Consider fishing, you may introduce different lures, crab pots, or baits needed to entice certain fish. To recap.. Harvest skills could benefit from a ladder of advancement. Preferably requiring stacking challenges as you move up the ladder (traveling to different regions, overcoming obstacles & danger, advancing equipment and/or tools, or need co-operation with other players). A probability of receiving an unexpected rare item helps to spice up monotony. Online games are notoriously difficult to balance in any aspect. I won’t pretend for a moment that this is a walk in the park. Implementing a functional player economy is probably chief among the challenges. With that caveat out of the way, I think Faldon's current harvesting and crafting skills can be greatly improved with a couple guiding principles:
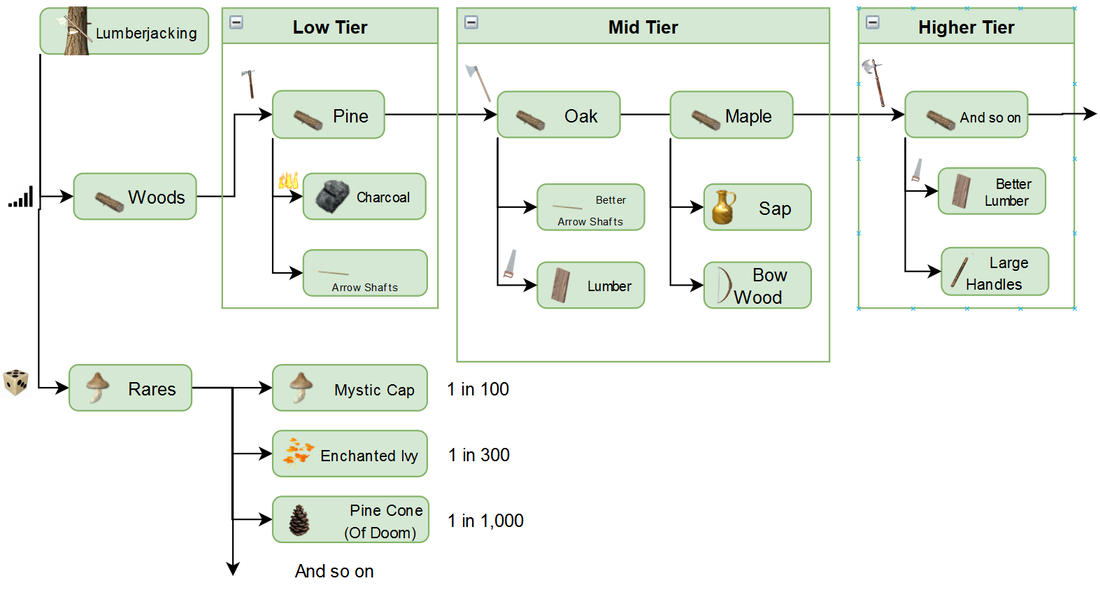
Equipment and consumables that are better, naturally would have increased crafting material requirements. This pulls from multiple gathering skill types and from various gathering skill levels. Again keeping with the Lumberjacking theme, below is another sample of an imagined skill advancement tree. Let's look at the “tiers” (low, mid & high) and consider how they could be siloed to make each skill level relevant. By relevant, I mean other players actually wanting what is being harvested. We’ve established Pine as our entry level resource example, a low tier resource on the a lumberjacking skill ladder. This resource could be used for common things like: cooking, making charcoal, simple arrow shafts, or pulping for paper production. It would be necessary to have a higher consumption rate and several uses to continually drive higher demand of these low tier materials. Moving on to the next step. These new resources wouldn’t be used for the previous purposes listed for pine. You might want it to be possible from a game mechanic standpoint. But if implemented correctly, a player wouldn't want to consume them for those purposes. This next level would have potential that the previous one didn’t. Perhaps Oak is required to produce better arrow shafts, or slats of lumber for shields. And Maple can be refined into a sap, or is specifically required to make & repair bows. As a result of being specifically used, harder to obtain, they should also be collected and consumed in smaller amounts. Now, if things are working as intended (chefs cooking, smiths smithing, archers shooting, scribes scribing), then there's always high demand for low tier wood. Furthermore, if high level players are busy collecting rare endangered jungle hardwoods in exotic realms, then they’re not collecting pine. Further pushing the value of low tier. The concept is summarized to: siloing the tiers, driving high consumption/demand at the low tier end, maintaining scarcity and specialized usage as you go up the ladder. Spending time on game "trade skills" such as these aren't for everyone. And, shouldn't be required to play an MMO. However, they can be a very enjoyable aspect of a well rounded game if implemented in a creative way. Some more tangents for consideration...
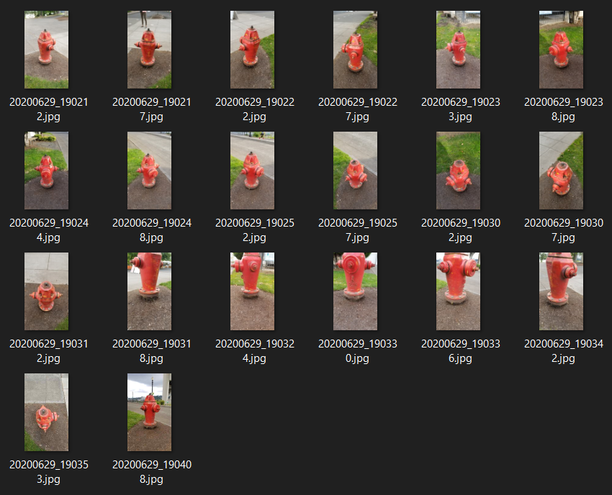
Success! I spent some considerable (and frustrating) time debugging my computer and determined that my PC was crashing due to overclocked RAM. It was working fine for over a year, but a recent update to Windows 10, or some other driver update must have thrown a wrench into it's stability. With that distraction out of the way... The result is improved compared to my last attempt, which was a splash of red that barely resembled a fire hydrant. This proved to be yet more lessons on picture technique:
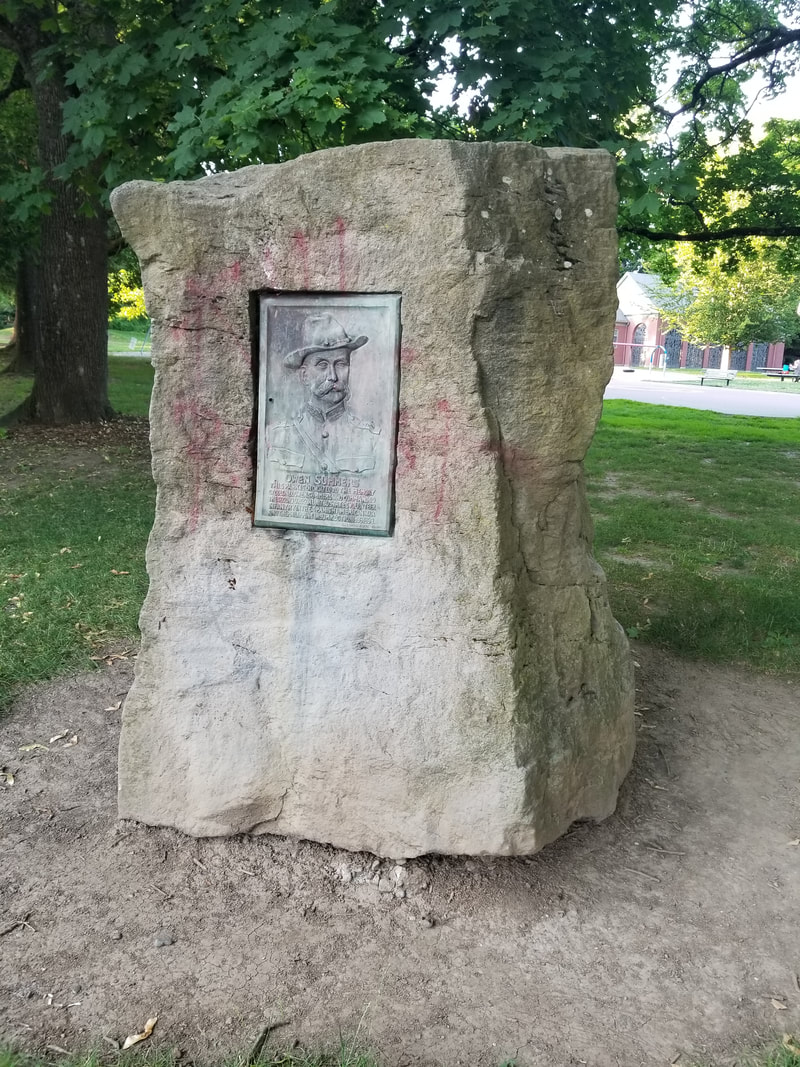
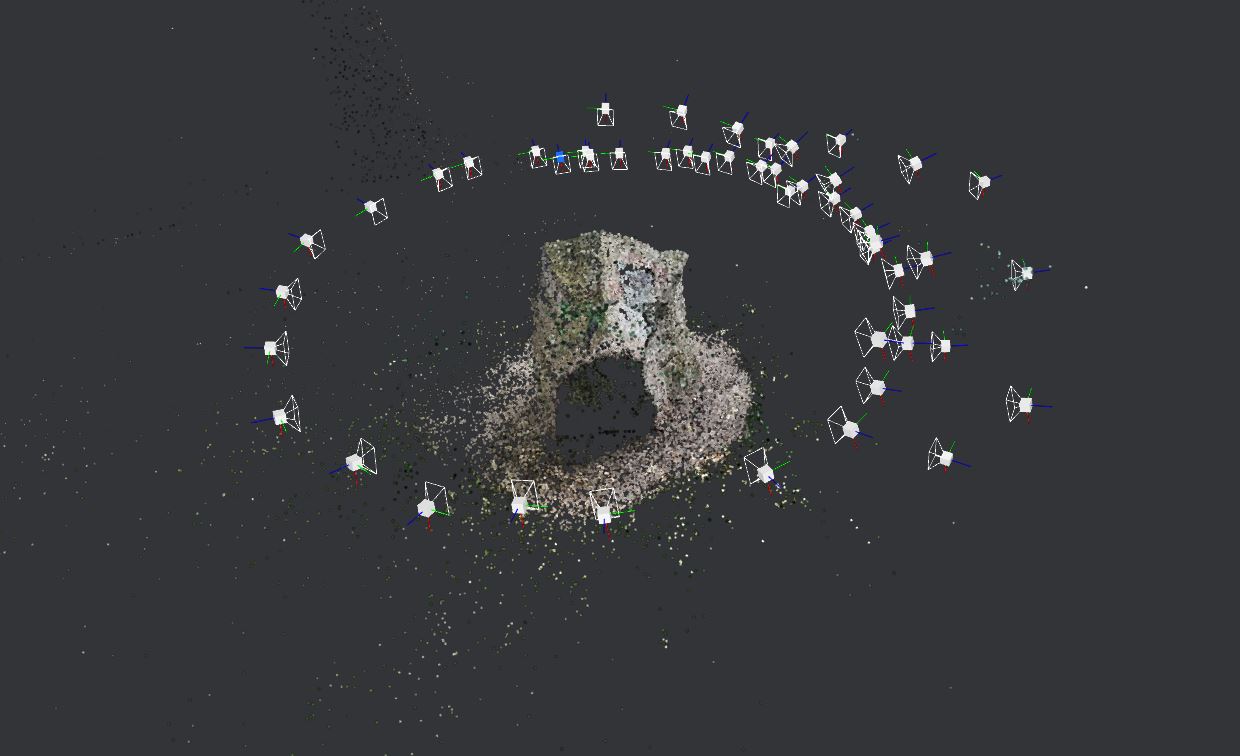
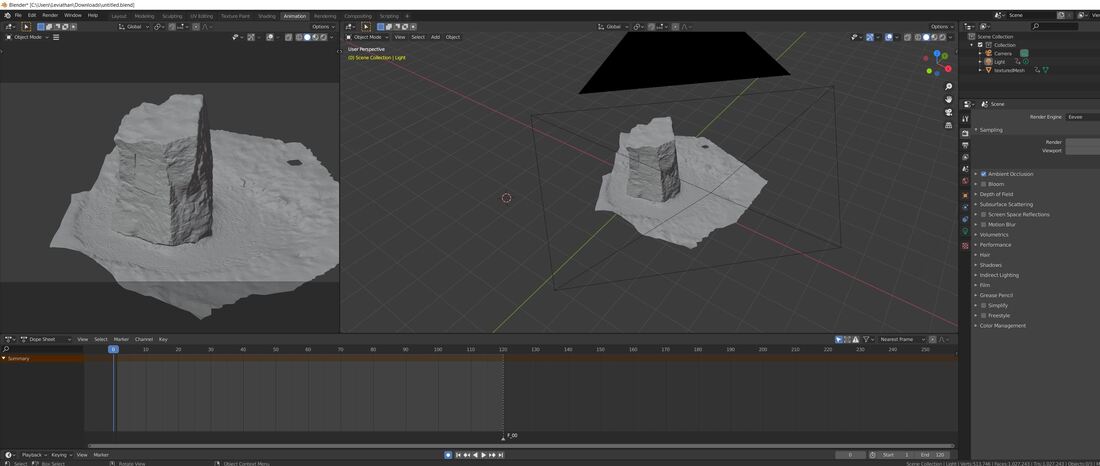
Onward and upward... I found a suitable new object for my next test, applying what I've learned thus far. It's is a stone & bronze plaque monument to this mustached colonizer: At about 8 ft. tall in an open grassy area, it is accessible from all angles. And my visit was during an overcast day. Despite the clouds scattering most of the light, it was late in the day, and the sun primarily came from one low angle. So, it still has a dark side. Not bad though. This time, I found that I could increase my smartphone's megapixel/resolution by changing the picture ratio from 16:9 to 3:4. That helps. I took 32 pictures at standing height, moving 360 degrees around the stone. Then took 18 more from various angles trying to get the top part which I thought might be a problem. Turned out pretty well. With this sample, I thought it was time to move on to cleaning up the mesh in Blender, and test out a render. It imports nicely, and didn't take much effort to trim it down. Blender took a bit of adjusting to, but after about an hour of playing around I was able to get the basics down. In the past, I primarily rendered in an isometric view. My first step was to get the camera configured for that view. Secondly, I wanted to see how lighting would cast on the mesh, and how to set key frames. I saved a short render: When I started the 3d scanning samples, it was my hope that I could use it to minimize production time from complex textured mesh assets. It's no doubt that this will be a new tool in my media creation arsenal. It has it's limitations, but for static environment generation it's very useful. Also this is relatively new technology. I have no doubts that it will advance by leaps and bounds and become increasingly accessible. Next up, I'll be moving on to experimenting with Blender more in depth and get accustomed to the user interface and features. About 20 years ago I downloaded a free online game called Faldon. I was instantly hooked. A few years along this timeline I became more involved as a volunteer, mostly through gameplay moderation, hosting game events, and minor in-game edits. Eventually I became more interested in creating graphics for Faldon and received some guidance from the original creators. Despite some of my early hamfisted attempts at graphic contributions, they kept me around, and I stuck with it playing and contributing off and on for several years to follow. Here is some of my recollection of the game's evolution, primarily from a graphics/visual aspect.
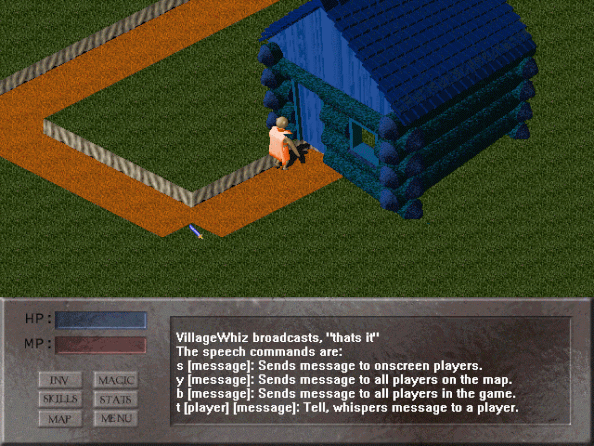
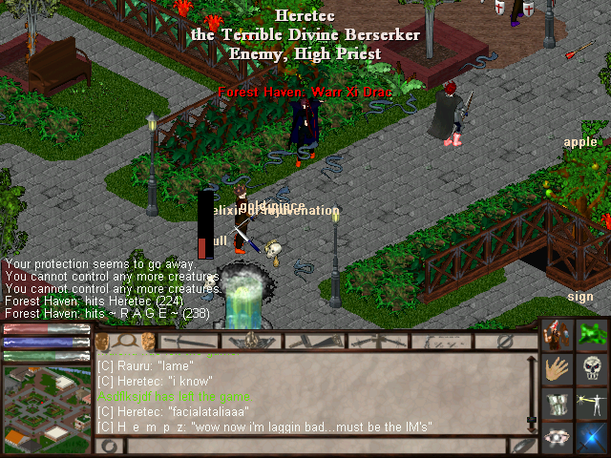
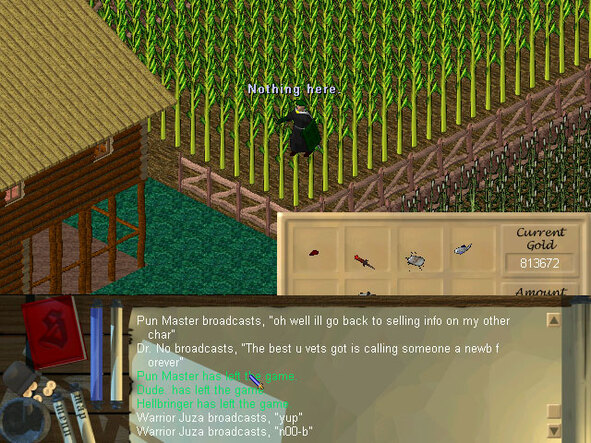 Further along, the game's graphics implemented more modular art. Movement increased from 4 to 8 directions in this version. The character art upgraded to a composite stack of different graphics depending on which pieces of equipment that the player equipped. And, structures were customizable, adding higher variability. The user interface evolved along with the growing complexity and depth of the gameplay.
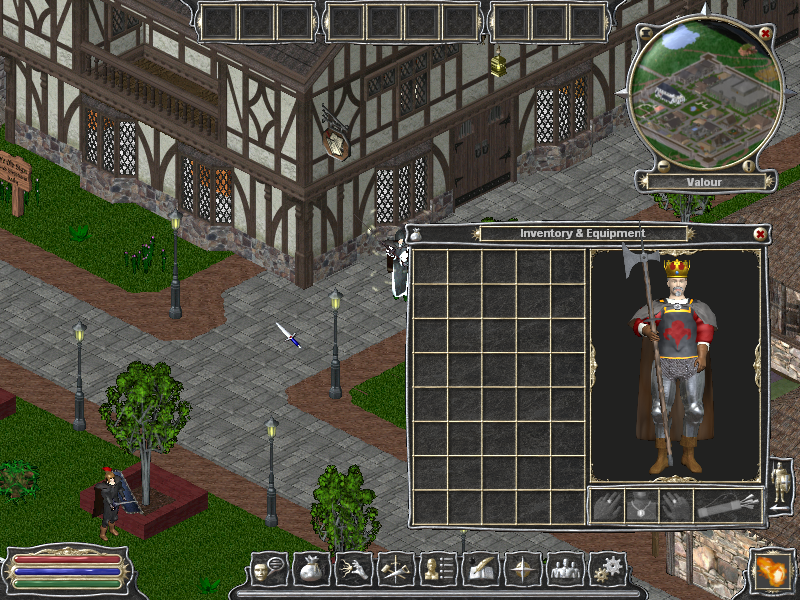
Above is an unreleased version, showing a game user interface prototype. It supported a higher resolution, and started laying the groundwork for yet another step in the ongoing evolution of Faldon. The game has since laid dormant.
Since my last enthusiastic photogrammetry post, I moved on to trying some more Meshroom tests. These additional samples revealed some limitation and obstacles that I'll need to learn more about and overcome. The first "rock" test turned out pretty well because I unintentionally adhered to some of the ideal conditions for photogrammetry.
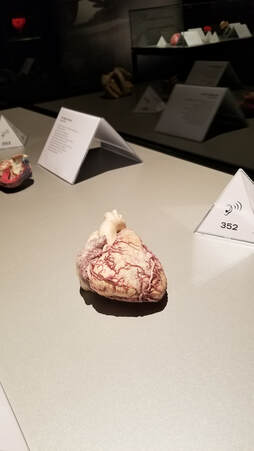
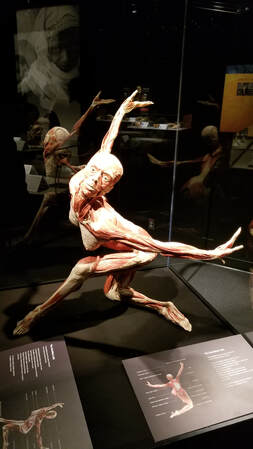
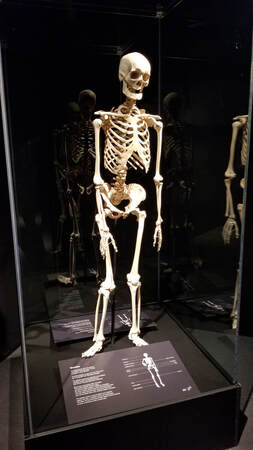
Secondly, Meshlab is crashing my PC. Complete blue screen of death. I suspect it has something to do with with overclocking my CPU, the stock overclock of my GPU, or memory overclocking. I played around with these settings with mixed results about a year ago and never learned enough about what I was doing to effectively tune everything just right for stability. I was regularly crashing PC games back then, then got to a point where it rarely crashed, but never perfect. There isn't a great deal of Meshroom help that I can easily find related to this other than references to removing overclock to GPU for stability. Another area to improve will be learning more about my smartphone's camera. I usually just a point & shoot. I believe there is likely more settings and features available that can result in better photos. More Tests A couple days ago I visited a bodyworlds exhibit. It was a fun trip, and had some really interesting showcases. You can't leave something like that without feeling a sense of mortality and how fragile and complex beings we are. Below are some more 3D photo scanning samples I took at the exhibit, and on a walk afterward nearby.
Skeleton & Brain + Arteries - Again, I had really low expectations with these, but was still curious how Meshroom would handle reconstructing complex geometry with glass reflections and fewer photo angles.
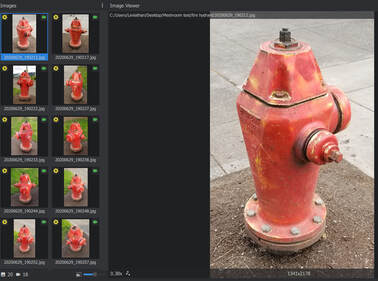
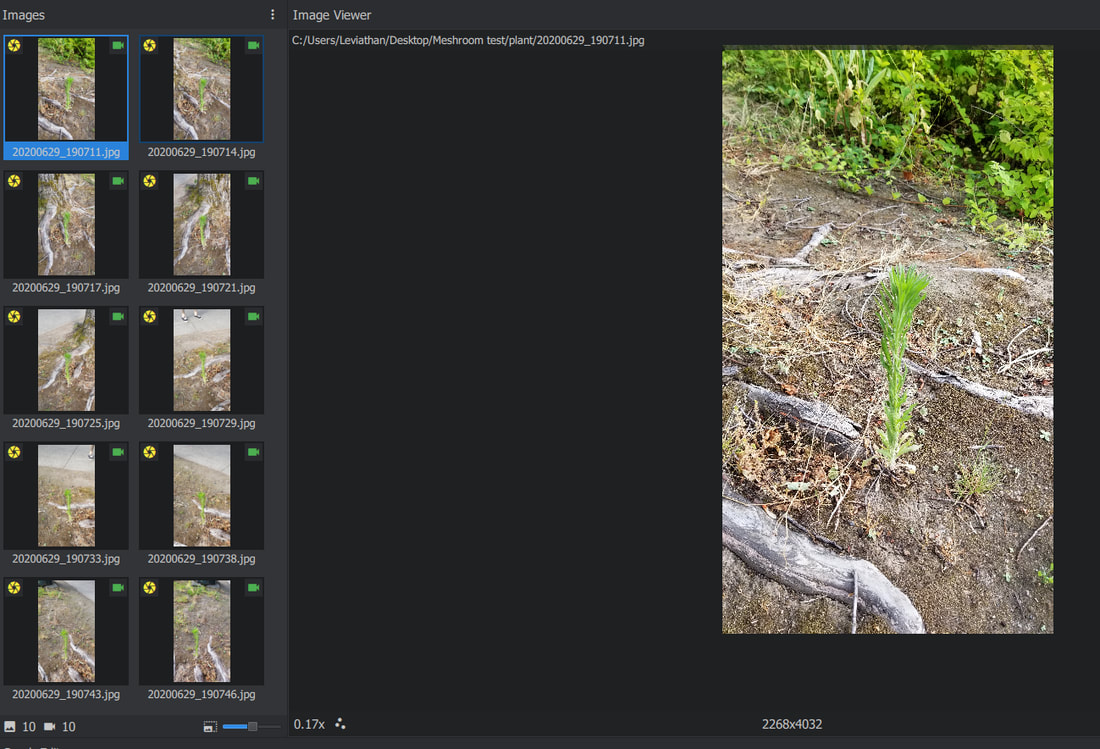
Fire Hydrant, Small Plant (and more not shown) - With these, I took more time to find suitable samples with great lighting, and matte surfaces. I also took several more photos than I did with my first rock test. As well as taking 2 or 3 different 360 degree sweeps, at varying angles. I thought they would yield some high quality geometry. However, I ended up with pretty bad results. The majority of the time, it just caused my computer to crash. Note: The plant I was trying to capture was completely omitted from my generated mesh.
I'll preface my first post with what I have been up to recently as it relates to creative endeavors. Which is, delving back into the world of digital graphics and design after a decade long break. The first part of the journey has been checking out the latest versions of 3D graphics programs and the respective advancements made to the most popular programs, plugins, and tools. This has included watching a number of tutorial and demo videos, reading articles, loading up old 3d models & scenes, and generally re-acquainting myself with the whole field. Coincidentally, it seems that the primary software I used in the past (Lightwave 3D) actually disappeared for several years as well, only to recently re-emerge. A few noteworthy developments (among numerous others) since my absence has been sculpting and photogrammetry (or 3d photo scanning).
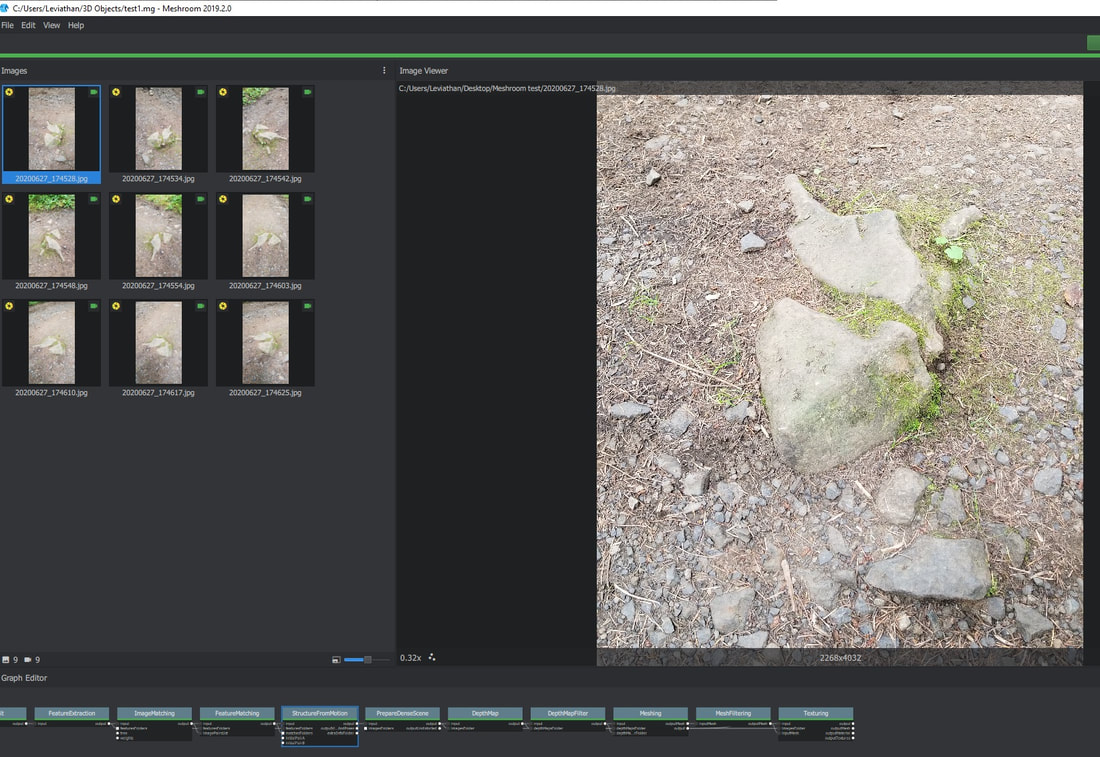
Like anyone else, I want to achieve highest quantity & quality results with minimal upfront cost of time & money when working on any project. This means that initially I'll stick with free and opensource tools whenever possible (GIMP, Blender, Audacity to name a few). As well as utilizing free and/or cheap model, animation, textures & sound assets if available. So long as they have acceptable licensing, and aren't overly generic. Now, the approach described above naturally leads to photogrammetry. This technology has advanced far enough that the barrier to entry is very minimal. You can get acceptable results with just a smart phone, and free to download software. The software I used for my "Quick Test" below is Meshlab. The Test This weekend I went on a camping trip with my girlfriend. During an afternoon hike I paused for a couple minutes to take 9 pictures of a rock along the trail that looked like it would be suitable for a test. Just my smartphone, nothing fancy. This would simply tell me what kind of result I could get, and if it would be usable. After getting home I gave it a try... Loaded the program up, clicked & dragged in a set of pics. Then clicked "Start". Using all the preset default nodes, it took about 5 minutes to generate the below mesh and texture. So, the result is... a rock. But not just any rock. The kicker: it's complex geometry with a high resolution photo texture, that took very little time to generate (<10min total for this raw mesh). The implication is that high detail, static scene assets can be generated much easier by using this method (interesting example here shows it cut the production time literally in half). AND, you get to leave behind the mundane clickity clacks of keyboard and mouse. You get to go outside and use nature and structures as inspiration. |
Wu
Archives
October 2020
Categories
|
